

How To Set Up An Address On An Envelope
How to create and print envelopes from the mailing list in Discussion?
If you lot have a customer or customerlist, and you need to send an update leaflet to all the clients in the list, in many cases yous take to write each customer'due south name and accost on the envelopes for the sending. Just if there are numerous customer information existing in the list, the writing work volition be a huge projection. Now, I innovate a trick for you to create and print envelopes from the list in Word.
Create and print envelopes from mailing list in Word
Stride i: Set envelopes style
Step 2: Import the listing to Discussion
Step three: Add together information to the envelope
Step 4: Print the envelopes
 Create and print envelopes from mailing list in Word

Amazing! Use Efficient Tabs in Word (Office) like Chrome, Firefox and New Cyberspace Explorer!

Read more Complimentary download
Pace one: Prepare envelopes manner
Firstly, you need to set the envelopes way.
1. Open a Give-and-take certificate and click Mailings > Envelopes. Meet screenshot:

2. Type the delivery accost In the Delivery accost box, and in the Return address box, blazon your render accost. Then click Options button. See screenshot:

3. In the Envelope Options dialog, click Envelope Options tab to specify the envelope size, delivery accost and return accost. See screenshot:

four. Then click Printing Options tab to choose a way that the envelope volition be loaded into the printer. Meet screenshot:

v. Click OK. And Click Print to print the envelope.
6. Then Discussion prompts a dialog for you to save the render address, click Yeah. Encounter screenshot:

7. Cheque if the envelope printed correctly.
If the envelope didn't impress correctly, try adjusting the Feed method options in footstep 4.
Step ii: Import the listing to Discussion
At present, we need to import the client list into Word certificate.
one. Click Mailings > Showtime Post Merge > Envelopes.

ii. In the Envelope Options dialog, click OK. Then the document is changed to an envelope with the default render address showing at the top left corner. Meet screenshot:
three. Click Mailings > Select Recipients > Utilise an Existing List. Encounter screenshot:

4. A Select Data Source dialog is displayed for you to select the file which include the listing you want to import, then click Open. Hither I select an Excel workbook, after clicking Open button, a Select Table dialog pops up for selecting the sheet which the list existing in. See screenshot:
5. Click OK to close the dialog, and click Mailings > Edit Recipients List, you can come across the customers list has been added. See screenshot:

6. Check the person you desire to send the letter to in the pop-up dialog. And then click OK.
Step iii: Add information to the envelope
In this part, you need to specify the data appeared on the envelope.
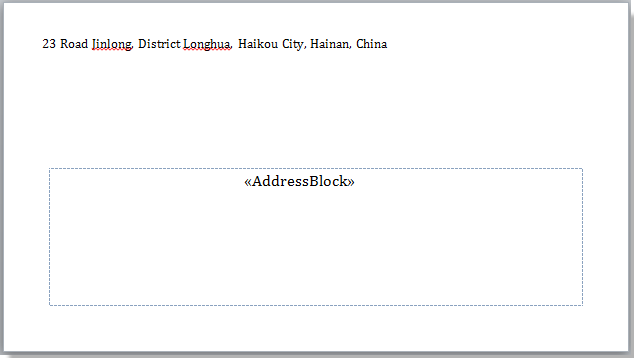
i. Put the cursor on the center of the envelope (which is a text box displayed), then specify a position yous want to insert the address. See screenshot:

ii. Click Mailings > Accost Block to show the Insert Accost Cake dialog. Run into screenshot:

3. In this dialog, select the recipient proper noun format you want to insert under Insert recipient's proper name in this format section, and you can preview the consequence in the Preview section after select a name format. See screenshot:

Tip: If you want to know whether the fields in your recipient listing match to the required fields or non, please click Lucifer Fields. In the Match Fields dialog, you tin determine which fields can appear on the envelope. If you practice non want the field showed, click (not matched) in the drop-down list. Meet screenshot:

4. Click OK, you can see the address block has been inserted into the envelope. Encounter screenshot:
Step iv: Print the envelopes
Offset to impress the envelopes.
1. Click Mailings > Preview Results, and then click  and
and  buttons to preview and make certain the names and addresses on the envelopes are correct. Run across screenshots:
2. Click Terminate & Merge > Print Documents. Meet screenshot:

3. And so the Merge to Printer dialog is displayed, please select a print records to come across your need and finally click OK. See screenshot:

The envelopes are printed.
Recommended Word Productivity Tools


Kutools For Word - More Than 100 Advanced Features For Word, Save Your 50% Time
- Complicated and repeated operations can exist washed one-fourth dimension processing in seconds.
- Insert multiple images across folders into Word document at once.
- Merge and combine multiple Word files across folders into ane with your desired gild.
- Split up the current document into split up documents according to heading, section break or other criteria.
- Convert files between Doc and Docx, Docx and PDF, drove of tools for common conversions and selection, and so on...

How To Set Up An Address On An Envelope,
Source: https://www.extendoffice.com/documents/word/1392-word-print-create-envelopes-mail-merge.html
Posted by: pricehaten1956.blogspot.com
0 Response to "How To Set Up An Address On An Envelope"
Post a Comment